Showing posts with label rhinestones. Show all posts

Wednesday, 16 October 2013

The Digit-al Dozen Does Skittles: Skull Nets

Press Sample Purchased by Me

Afternoon friends!

Today we have yet another post in the Digit-al Dozen's Skittle Week! I was trolling around the internet last night looking for some inspiration when I saw this picture that Rie of Nails and Noms posted of some awesome Black Milk Clothing Skull Net Tights! The design was really interesting and I decided to take that as my inspiration and went from there!


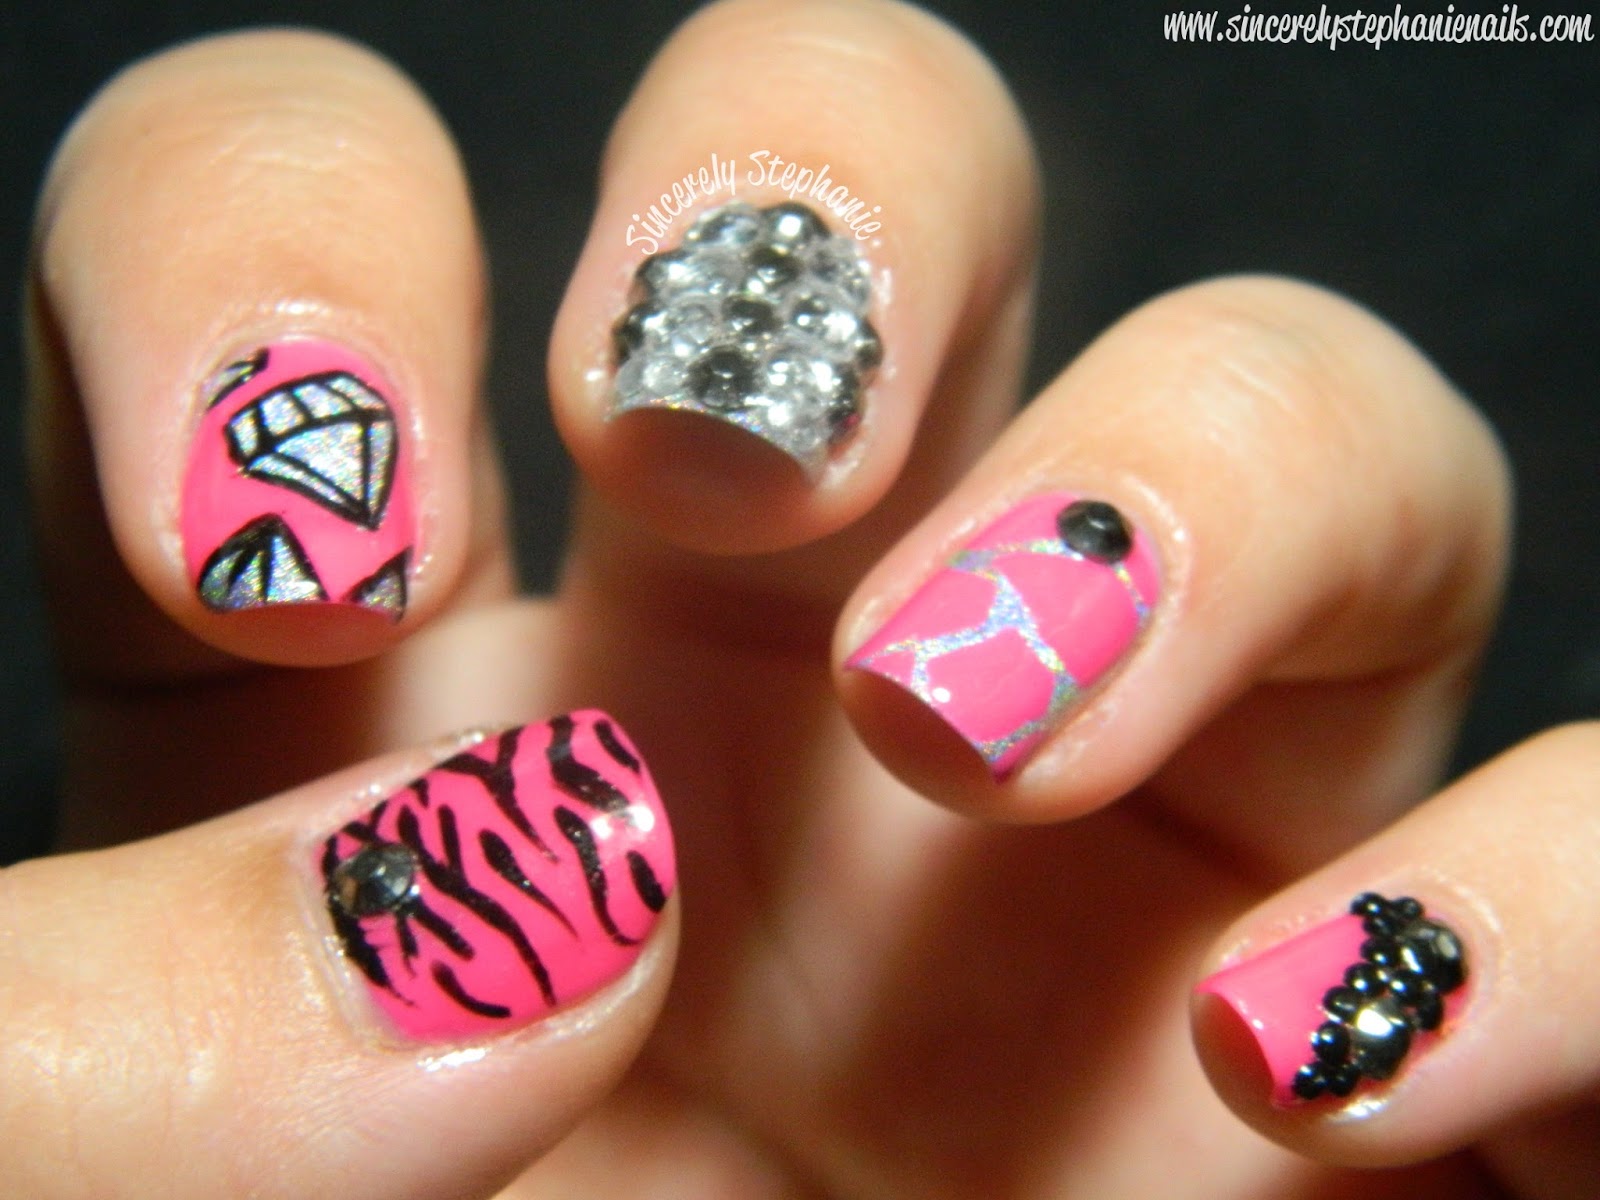
I again stuck with my almost all butter LONDON theme when selecting what polishes to use! I started out with Cult Nails Tempest on my index, ring and pinky nail and used butter LONDON Come To Bed Red from the upcoming Illusionist Holiday Collection (swatches will be up soon), on my thumb and middle nail. From there I started out by recreating the pattern on the Black Milk Clothing Leggings on my ring nail with my smallest cut down nail art brush and butter LONDON Union Black Jack.


On my thumb I added a coat of butter LONDON Stardust, which is also from the upcoming Illusionist Holiday Collection, over Come To Bed Red. On my index nail I added large dots with a dotting tool in Union Jack Black and then painted a gradient with Come to Bed Red and sprinkled some loose red glitter on top. On my middle nail I used an assortment of black and clear rhinestones to create the pattern. On my pinky nail I did a line of black rhinestones up the middle of my nail and then painted a line using Come To Bed Red on either side and again sprinkled glitter over that! That was a lot of explaining!


I love black, white and red together and the subtle skulls make me feel slightly rocker, while still keeping it girly. What do you think about these nails?

Make sure you check out the rest of The Digit-al Dozen to see what skittles they are rocking today!


Wednesday, 11 September 2013

The Digit-al Dozen September Spectacular: BLING!

Purchased by Me

Afternoon my loves!

Today's post is another in the Digit-tal Dozen September Spectacular, this time we are recreating the theme BLING! We did bling week back in May and I seriously loved that week. I had a lot of fun creating blinged out manicures, especially because I was still on crutches at the time and it had been over 3 months. The bling nails made me very happy!


For this blingy manicure I wanted to do a skittle, because well I love skittles. I had China Glaze Escaping Reality sitting out on my desk and felt a strong urge to pair it with a holographic print and some gems! I started with Creative Fantasy on my thumb, index nail and pinky. On my middle and ring nail I started with Color Club Harp On It.


On my thumb I used Sephora by OPI Never Enough Shoes to freehand the zebra print and then I added a gem from Born Pretty Store. My index nail I freehanded the diamonds with Harp On It and then outlined them with Never Enough Shoes. My middle nail was a gem filled nail using big silver gems from Born Pretty Store and some 3mm rhinestones I had in my kit. On my ring nail I freehanded some random shapes of Escaping Reality and then added another gem. Finally on my pinky I used the same gems from Born Pretty Store as well as some small black rhinestones.


I had fun wearing these for the day that I did! Doing all these nails really isn't allowing me to enjoy them as much as I would like! lol Alas such is the nature of these challenges! What do you think of these pink blingy nails?! Would you ever wear something like this?

Be sure to check out the rest of the Digit-al Dozen below and ENTER our giveaway!


Thursday, 1 August 2013

Bright Neon Flowers

Press Sample Purchased by Me

Good Morning!

Today I have some very bright neon floral nail art to share with you. I was inspired by Lexi's Neon Flowers. They look so bright and fun that I just had to give them a try!

neon floral nail art


I was absolutely OBSESSED with these nails with I did them! I wore them home for a weekend and never wanted to take them off. I started off with Cult Nails Tempest on all my nails because I originally was not planning on the rhinestone accent.

neon floral nail art


I grabbed a bunch of neons from last years China Glaze Summer Neons and went to work. I decided to switch up the colour scheme from Lexi's original design. The pink is China Glaze Hang-Ten Toes, the orange is China Glaze Orange You Hot?, the yellow is China Glaze Sun-Kissed and the blue is China Glaze Splish Splash. My rhinestones were sitting out on my desk so I decided to go for a full out blinged accent nail covered in rhinestones! I added a coat of China Glaze Glistening Snow before I added the rhinestones so any space would be silver underneath.

neon floral nail art


I'm mildly obsessed with wearing floral prints and this one is no exception! The neon and floral combination just made me happy. PLUS the blinged out accent nail is pretty awesome if I do say so myself :P

What are your thoughts on these nails? Would you rock a neon floral? Hope you are having a great Thursday loves!

Friday, 19 July 2013

Mint Manis For Talia Joy

Press Sample Purchased by Me

Goooooood Evening lacquerheads!

I am very excited to let you all know that I am DONE my thesis! YAAAY! This means I am one presentation away from being done my undergrad :) Hopefully this means more time for blogging now :)

Today I am participating in Mint Manis For Talia Joy, honouring the life of the bright, young, amazing girl, Talia Joy Castellano. The idea for the mint mani theme was inspired by Talia's last Instagram posting, which was a mint manicure post featuring the hands of Talia, her mother, and her dear friend Tammy. For those of you that don't know Talia, she was an extremely talented 13-year-old makeup artist and YouTuber, who was battling two kinds of cancer (neuroblastoma and preleukemia) since she was diagnosed at only 7 years old. Despite all this, she still managed to keep upbeat, motivated, and overwhelmingly positive.


I started off with my current mint crush, China Glaze Highlight Of My Summer. I've worn this so much already that I may be needing a back up bottle someday. On my middle nail I started with China Glaze Glistening Snow and on my ring nail I used Cult Nails Tempest.


I freehanded the drips using Highlight Of My Summer and a striping brush then added the details using black and white creme. On my ring nail I first added the stripes with black creme and then added the large and small rhinestones because Talia loved a little bling on her nails.


You can share your mint manis for Talia on Facebook, Tumblr, Instagram, etc. with the hashtags #MintManisforTalia and #TaliasLegacy. You can also add your mani to the Inlinkz collection below. I'm really excited to see what everyone else has come up with in honour of this beautiful and talented young girl who was taken from the world too soon. Keep Talia's family and friends in your prayers! <3


Tuesday, 18 June 2013

Nude Polka Dots!

Purchased by Me

Morning!

Today I have another simple look to share with you, that is totally office appropriate or perfect when you want something understated, but still have a little nail art going on.

polka dot nail art


I started off with one of my all time favourite nudes, Revlon Bare Bones. Then took one of my medium sized dotting tools and OPI You Don't Know Jacques and dotted all of my nails!

polka dot nail art
polka dot nail art


I thought the whole thing would look much better matte, so I grabbed my go to matte top coat OPI's Matte Top Coat and mattified the whole thing. I'm glad I did because it looks way better matte! Then I took some small clear rhinestones and added them near my cuticle on each nail just for a little extra shine. These were hardly noticeable, but I liked them!

polka dot nail art
polka dot nail art

Simple, polka dotted and nude! A different combination for me, but I think it's fun none the less! :D What do you think of these nails?!

Monday, 17 June 2013

Copper Dreams

Press Sample Purchased by Me

Morning friends!

Today I have a skittlette inspired look to share with you. Marta of ChitChat Nails is an absolutely amazing blogger and always a source of inspiration to me. A few weeks back she posted this manicure and I instantly fell in love with the colour combination and knew I would be copying it someday!

skittlette nails


I love skittlette looks and there is something about this that is just so elegant! Love! I started off with OPI My Vampire is Buff on my thumb and ring nails. On my index and middle nails I used Cult Nails Manipulative and on my pinky I started with OPI Sprung.

skittlette nails
skittlette nails


I created the gradient using Manipulative and My Vampire is Buff and a regular makeup sponge. Once that was totally dry I stamped using Wet n Wild Black Creme and PUEEN 23. I love how this stamp is for a full nail, but is sparse enough that it allows the gradient to show though! I added Shimmer Polish Katherine on my pinky to give the nail a little extra oopmh. I still felt like I needed something a little more, so I grabbed my Cult Nails Bronze Gemstones and added one to the base of my blue nails. Finally I took Sprung and added a few dots to my stamped nails to get the bronzed look on each nail!

skittlette nails
skittlette nails

I totally love these elegant stamped looks, and I especially love them when both my hands can look so good ;)

What do you think of this kind of look?!

Thursday, 16 May 2013

The Digit-al Dozen Does BLING! Gold Glitter Blingtastic

Purchased by Me

Morning friends!

Today is day 4 in BLING week and I'm totally digging what I have to share with you today! A few weeks back I was browsing through Finger Painted and saw this manicure that Lexi had done on a client and instantly fell in love and knew I needed to create my own version.


I'm a tad obsessed with gold glitter bling this week it seems! But nothing wrong with that right ;)


On my thumb, middle and ring nails I started with OPI My Boyfriend Scales The Walls the perfect off white creme and on my accent nails I used my current favourite China Glaze Angel Wings. I sponged on Angel Wings to create a little gold glitter gradient on my non accent nails. Holographic gold glitter be still my heart!


Then I grabbed my Cult Nails Gemstones and sorted through until I found enough champagne coloured gems to make my bow and have accents on the rest of my nails. Lexi had used Swarovski crystals, and those looked amazing, but I'm digging the champagne colour here!


I couldn't narrow down my pictures here because I am in love with this look. So much rhinestones and glitter and bliiiiiiiiiiinnngggggg! I can't contain how much I love bling looks and this week is SO FUN! What do you all think of this look?

Make sure to check out the rest of the Digit-al Dozen!


Wednesday, 15 May 2013

The Digit-al Dozen Does BLING! Eternal Beauty

Purchased by Me

Goooood Morning!

Today is day number 3 in the Digit-al Dozen's Bling week and I am kind of head over heels in love with the look.

Color Club Eternal Beauty

Right after I finished my exams I recieved the ahhh-mazing Color Club Eternal Beauty in the mail and I immediately had to wear it. First let's just look at it on its own. Too pretty for words. Purple linear holographic amazingness in a bottle!

Color Club Eternal Beauty

GAH! Every person on the planet should own this polish. It just makes people happy. I had originally planned a whole crazy blinged out manicure, buuuut I felt like Eternal Beauty was blingy enough on its own.

Color Club Eternal Beauty

For my blingy accent nail I decided to go with all purple gemstones from Cult Nails as well as some bigger Born Pretty Store studs to give it a little more visual interest other than totally purple.

Color Club Eternal Beauty


This is even more holographic than I could capture and I am just GAH in LOVVVEEEE. Do you want this beauty? I know you do ;) What do you think of my blingy accent nail?!

Make sure you check out the rest of the Digit-al Dozens manicures!


LinkWithin

Related Posts Plugin for WordPress, Blogger...